The Sourdough Journal -- Entry 1
13 Dec 2020
Reading time ~8 minutes
Like most people during the pandemic, I’ve discovered a desire to cook more at home and learn how to bake tasty things. On such thing has been to learn how to keep a yeast starter and to use it to bake sourdough bread. I figured it would be worth documenting the process somewhat for my own organizational sanity but also to share it with folks who might be curious and want to attempt it themselves.
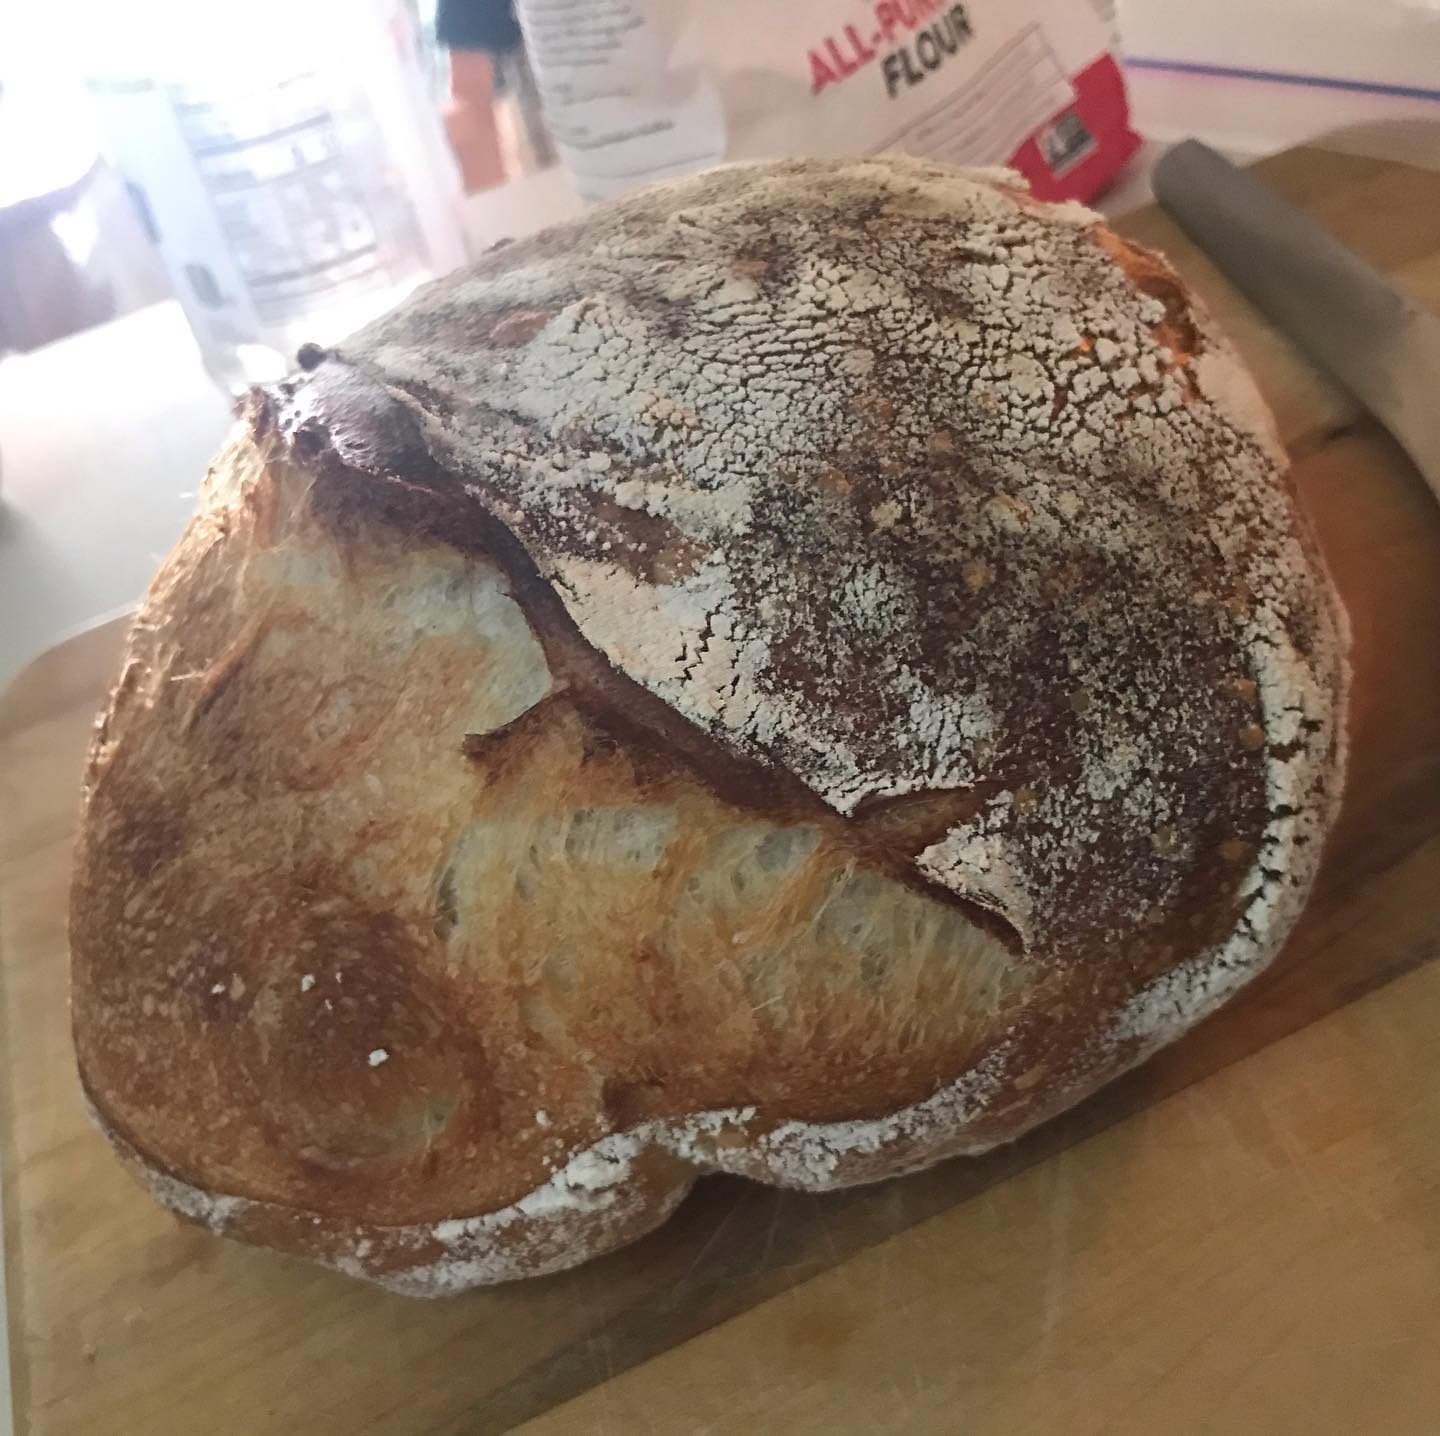
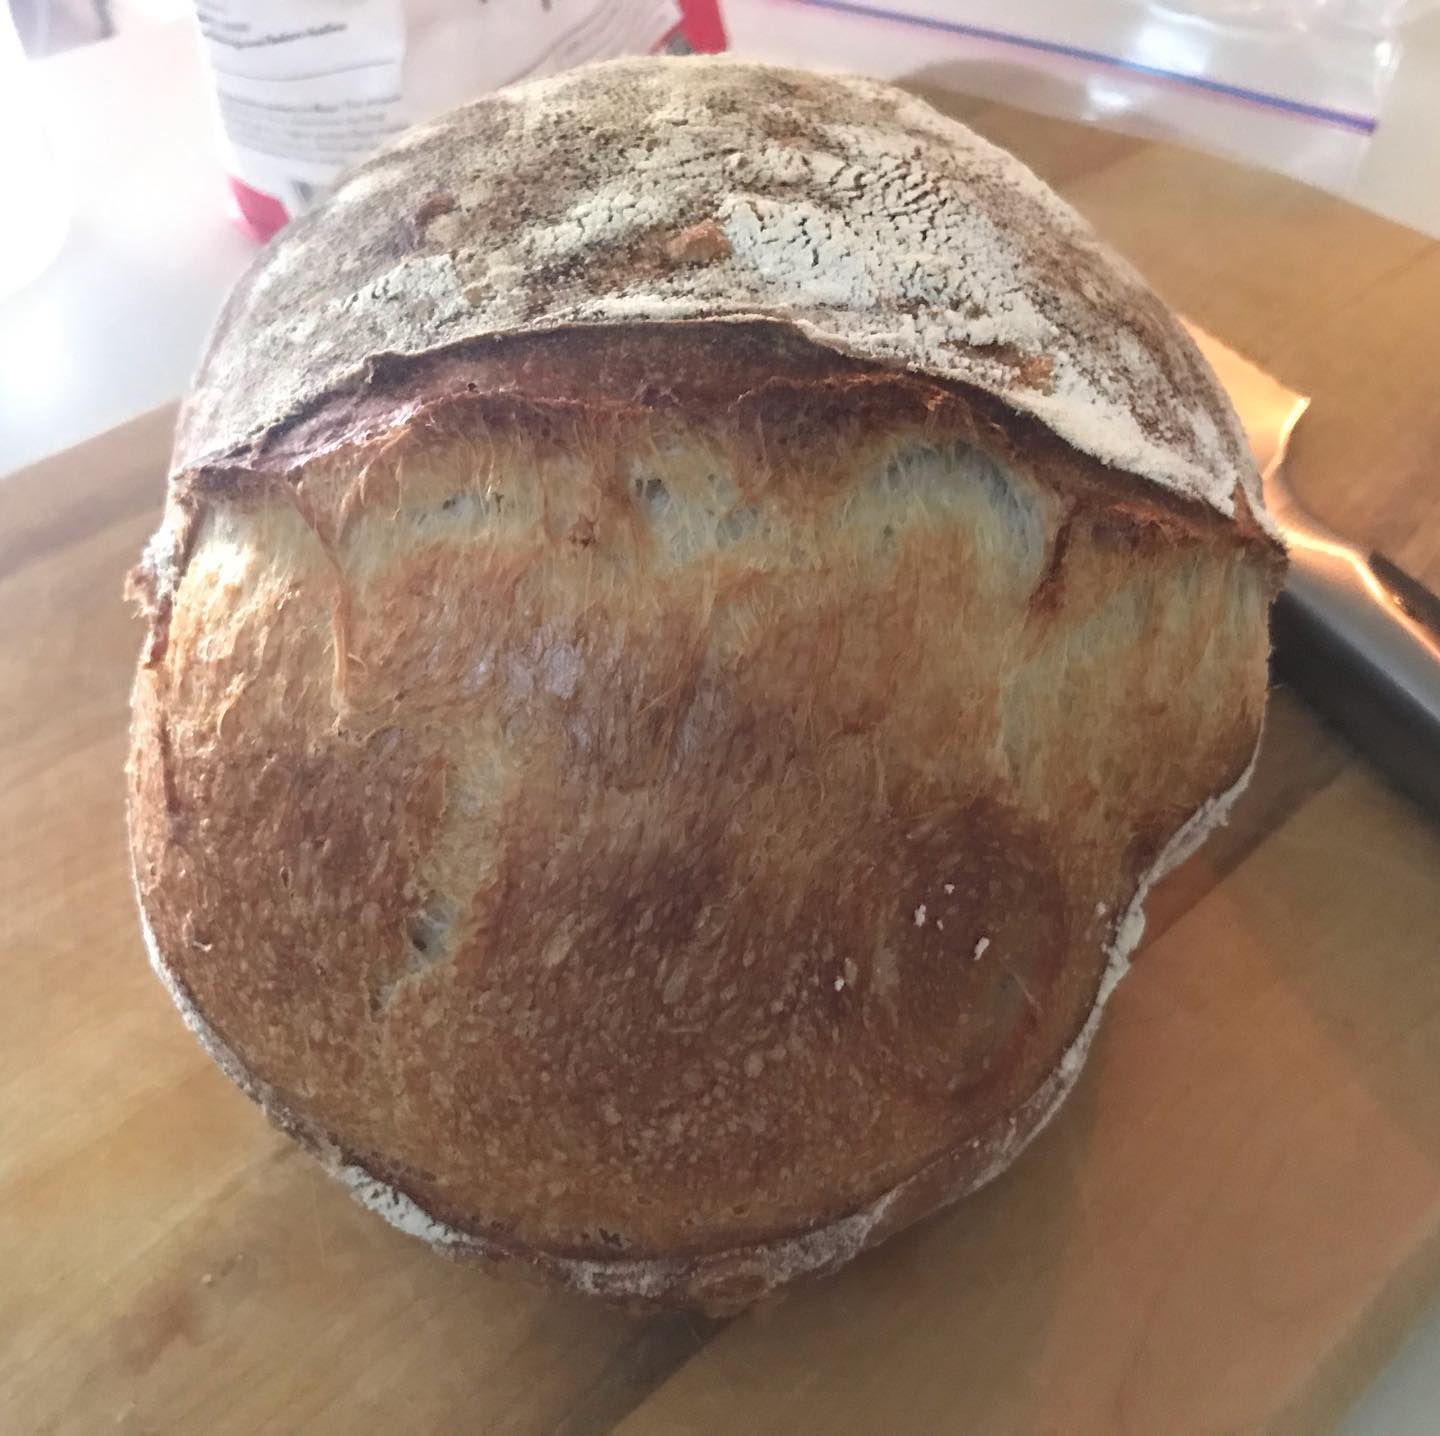
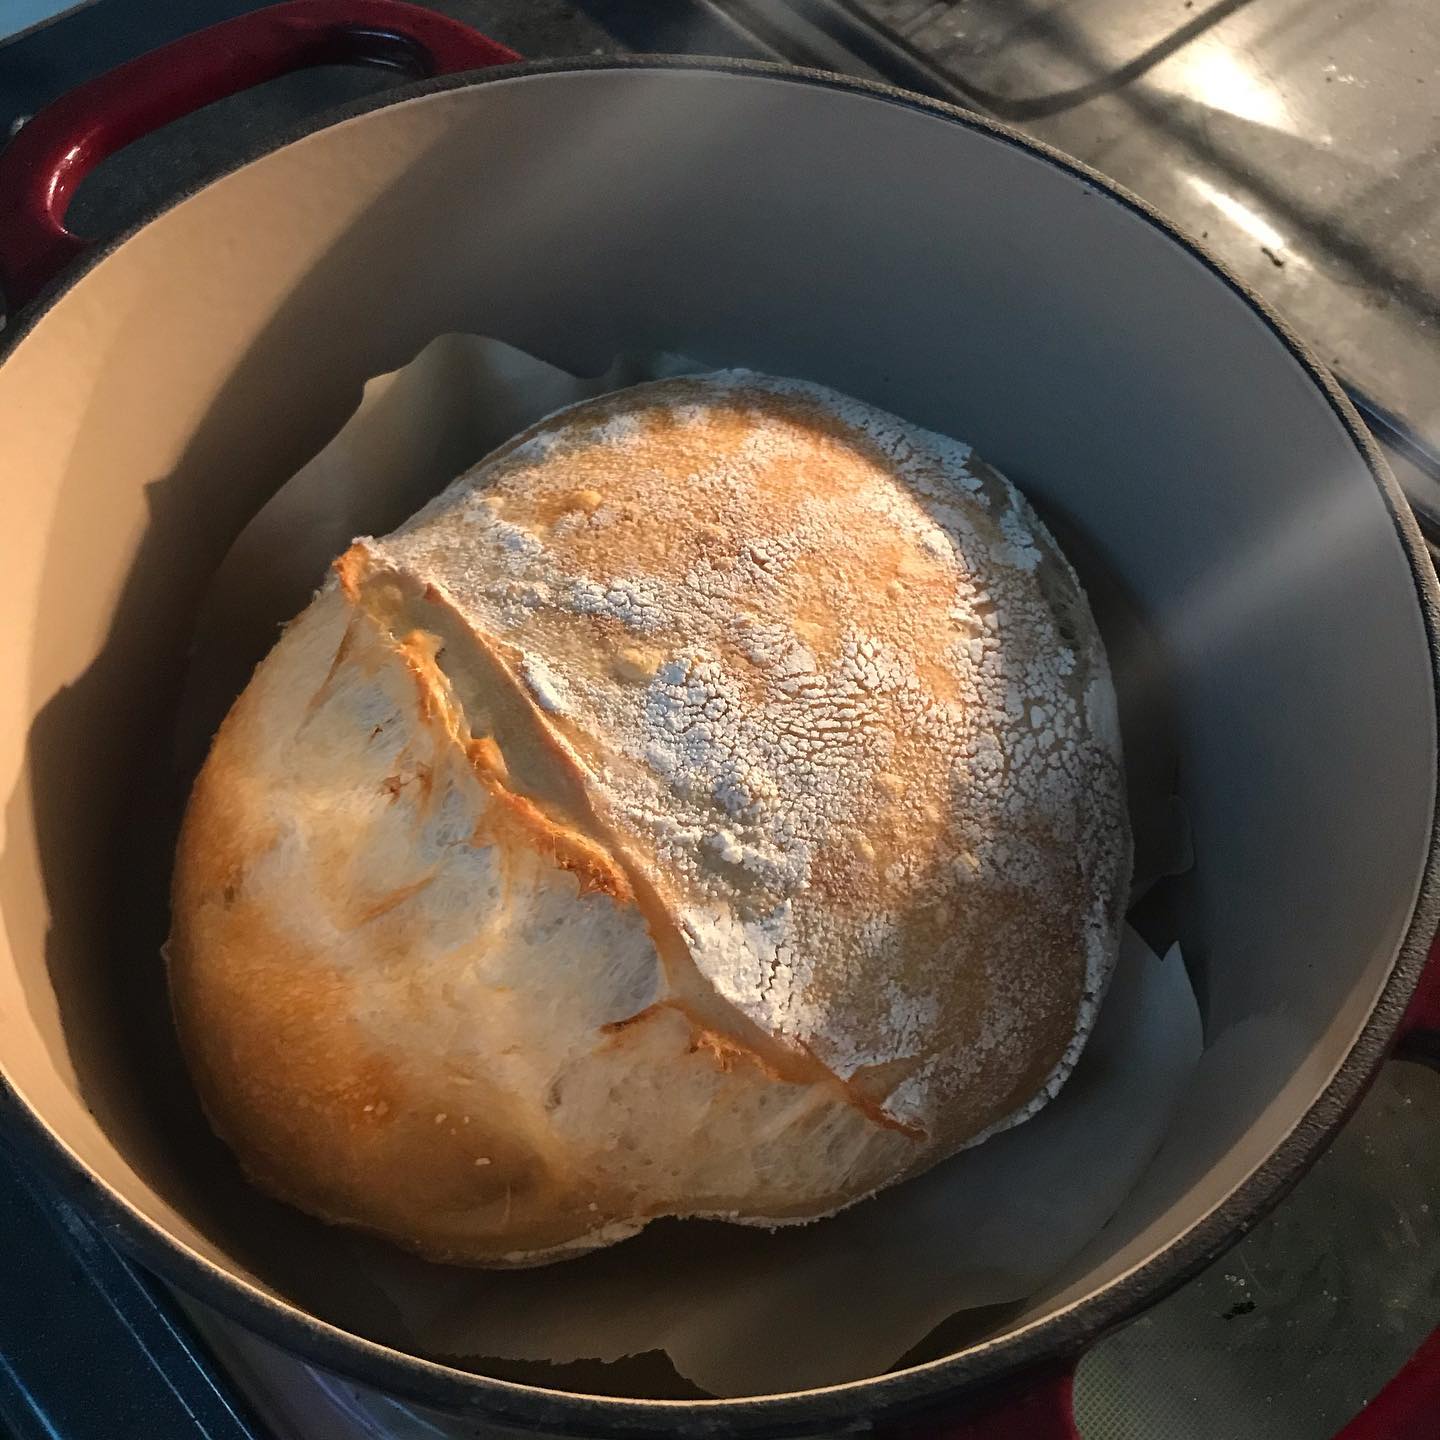
If you’re here for the pictures, here they are. These are from a couple of months of experimenting, so far I’ve only had one that has that nice, plump, spring that you expect from sourdough. But like all things, practice makes perfect!


Loaf (75% hydration, 4:3 Flour ratio)
| Ingredient | Mass (g) | % Total Mass |
|---|---|---|
| King Arthur’s Unbleached All-purpose Flour | 150 g | 18.9% |
| King Arthur’s Unbleached Bread Flour | 250 g | 31.5% |
| Filtered Water | 300 g | 37.9% |
| Yeast Starter | 85 g | 10.7% |
| Iodized Salt | 7.5 g | 0.9% |
| Total | 792.5 g | 100% |
Leaven
| Ingredient | Mass (g) |
|---|---|
| King Arthur’s Unbleached All-purpose Flour | 55 g |
| Filtered Water | 50 g |
NOTE: Your yeast should be active enough to double in 2-3 hours. If not, you can mix the leaven as far ahead as reasonable so that it will have doubled in size for the recipe below.
Equipment
- Dutch Oven
- Lame or Sharp Razor Blade
- Mixing bowl
- Mixing spool or wooden spoon
Below are the full instructions that I followed to make the loaves pictured above. I plan to improve my technique and consistency – but for now, this is the recipe that has yielded me some successful loaves.
Directions (75% Hydrated Dough)
Leaven Preparation
- Ahead of mixing the other ingredients, begin with a heaping tablespoon (or two) of yeast starter mixed with 50 g of room temperature water and 55-60 g of either King Arthur’s Unbleached All-Purpose or Bread Flour. Mix until thoroughly combined. Add flour as needed to achieve a wet but stiff consistency, thoroughly mixing until combined.
Dough Preparation
-
In a large bowl, mix both the All-Purpose and Bread flours; mix to combine.
-
Pour in the filtered water about 100 grams at a time, mixing a bit to each time to reduce pooling.
-
Using a large spoon, mix together the flour and water until the water is absorbed. Once absorbed, you’ll likely need to mix by hand. Lightly wet one hand and fold the dough over on itself until fully incorporated.
The dough will become stickier as you mix it since sourdough is a highly hydrated dough. Be careful to not overwork the dough as you will be working the dough again to mix in both your leaven and salt.
-
Let your flour-water mixture rest for 2 hours to allow the dough to autolyse. This is called the autolyse phase and will allow gluten to form giving your dough structure.
-
After two hours, your leaven should be doubled in volume. Measure out 85 grams of leaven and spread with a spoon on top of your relaxed dough. Once spread out, start folding the dough in on itself starting at the edges on the side of the bowl. Once the the dough is folded, lift from the middle on the sides of the dough and gently lay it into the bowl laying one half on to of the other. Rotate the bowl 90 degrees and repeat. Continue folding until the leaven is fully incorporated into your dough.
In lieu of folding in your bowl until incorporated, you can use a larger work surface such as a large cutting board or (cleaned) countertop and use what is called the “slap and fold” method.
-
Allow the dough to rest for 30 minutes. While waiting, measure out 7.5 grams of salt and set aside separately alongside some room temperature water (~10 grams).
-
After 30 minutes, wet your finger tips and poke some shallow dimples on the top of your dough. Spread half of the salt on the surface of the dough and pour enough water to wet the surface of the dough. Rub the salt into the dough’s surface and fold the dough on itself from the edges. Once initially folded, spread the remaining salt over the surface of the dough adding some water to dissolve it, again folding afterwards. Your dough will start forming distinct clumps and strands, and is expected. Continue folding the dough in your bowl until the dough forms a single cohesive mass. Let the dough rest for 30 minutes.
-
Once the dough has rested, wet the tips of your fingers and loosen the dough off the edge of the bowl. Once loose, fold the top of your dough over the center rotating the bowl roughly 60 degrees each time your fold. The goal is to get between 4 to 6 folds on your dough. Once folded, cover your bowl with a towel and let rest for 30 minutes. Repeat this process every 30 minutes for the next 2.5 hours, letting the dough rest for 30 minutes after the final fold.
An alternative folding method is the coil fold.
Summarized Preparation and Folding Schedule
| Start Time | Stage | Rest Time After Stage | Description |
|---|---|---|---|
| <= 0 hours | Prepare Leaven | 2 hours* | Feed starter (see Leavan) |
| 0 hours | Autolyse | 2 hours | Mix flour and water (Steps 1-5) |
| 2 hours | Add leaven | 30 minutes | Introduce leavan (Step 6) |
| 2.5 hours | Add salt | 30 minutes | Mix in salt (Steps 7-8) |
| 3 hours | Stretch & Fold #1 | 30 minutes | Gently fold dough 4-6 times (Step 9) |
| 3.5 hours | Stretch & Fold #2 | 30 minutes | Gently fold dough 4-6 times (Step 9) |
| 4 hours | Stretch & Fold #3 | 30 minutes | Gently fold dough 4-6 times (Step 9) |
| 4.5 hours | Stretch & Fold #4 | 30 minutes | Gently fold dough 4-6 times (Step 9) |
| 5 hours | Stretch & Fold #5 | 30 minutes | Gently fold dough 4-6 times (Step 9) |
| 5.5 hours | Stretch & Fold #6 | 30 minutes | Gently fold dough 4-6 times (Step 9) |
Shaping and Proofing
-
Gently loosen the dough from your bowl with either lightly wet fingertips or a flexible dough scraper onto your work surface. Once on your work surface, you will need to do some initial shaping on the dough. Use the scrapper to form a tensioned, loose mound out of your dough. Let rest for 20 to 30 minutes.
You can find a video on how to shape your dough here.
-
While the dough is resting, coat a cotton towel with flour and push into a medium sized bowl.
Alternatively, you can buy banneton proofing baskets which come with a lining that can be lightly dusted with flour for proofing.
-
Once the dough has rested, final shaping is required. Lightly flour the surface of the dough and using the scraper to flip the dough so that the wetter side toughing the working surface is face up. Gently stretch the dough into a square. Fold one side over about 75% the way to the opposite side. On the adjacent sides, fold one side over 75% of the way over and the repeat with the opposite side. On the last side, making small folds, gently roll the dough while folding until completely rolled.
For an example of shaping see Fullproof Baking’s video.
-
Once the dough is shaped, place it into the floured bowl (or banneton) seam-side up. In order to encourage the seam to join, pinch both sides together until the seam stuck together. Lightly flour the bottom of the dough, and loosely fold over any excess towel over the dough. Use plastic wrap (or a lid for a bowl) to seal the dough in and then place in the fridge for at least 4 hours (maximum up to around 15 hours).
Baking
-
Preheat your oven to 500°F with your Dutch oven inside; allow your Dutch oven to sit for 10-15 minutes once preheated to fully heat.
-
Once heated, remove your dough from the fridge, unwrap, and gently place onto some parchment paper seam-side down. Use a sharp razor blade or lame to score dough at about a 45° angle the bottom of the dough.
-
Remove the Dutch oven from your oven and place your parchment paper with dough in the center. Cover, and place back into the oven for 20 minutes.
If you’ve baked a loaf previously and find that the bread isn’t rising as much as you might expect, try spraying (or pouring in) some water into your Dutch oven before baking it covered.
-
Drop the temperature of your oven to 450°F and continue to bake covered for another 10 minutes.
-
After the 10 minutes, remove the cover from the Dutch oven. The loaf should have expanded and be a light gold color. Place back into the oven and bake until a deep golden brown color is achieved.
-
After a deep golden brown is achieved, remove from the oven and place on a cooling rack until fully cooled (about 1.5 to 2 hours). It is important to let the loaf cool as cutting while hot affects the texture of the final loaf.
Summarized Baking Schedule
| Cook Time | Temperature | Description |
|---|---|---|
| 20 minutes | 500°F | Preheat oven with Dutch Oven inside |
| 20 minutes | 500°F | Bake with Dutch Oven Covered |
| 10 minutes | 450°F | Bake with Dutch Oven Covered |
| 15-25 minutes | 450°F | Bake uncovered until a deep golden brown |
| 1-2 hours | N/A | Let the loaf cool before cutting |
Wrap Up
Now that your loaf is cooled, feel free to cut and eat however you like to. Hopefully this post helps you to start your own sourdough journey, or at least gives you enough of the basics to give you some leads on where to start!